
Getting Started in Aimlabs: Four Steps for Your First Session
You installed Aimlabs and moved through the first setup menus. You picked your game and visual settings or skipped through them. Now you’re on the Home Screen wondering what to do next. Here are four steps that help you start fast and train with purpose.
1: Customize Your Settings
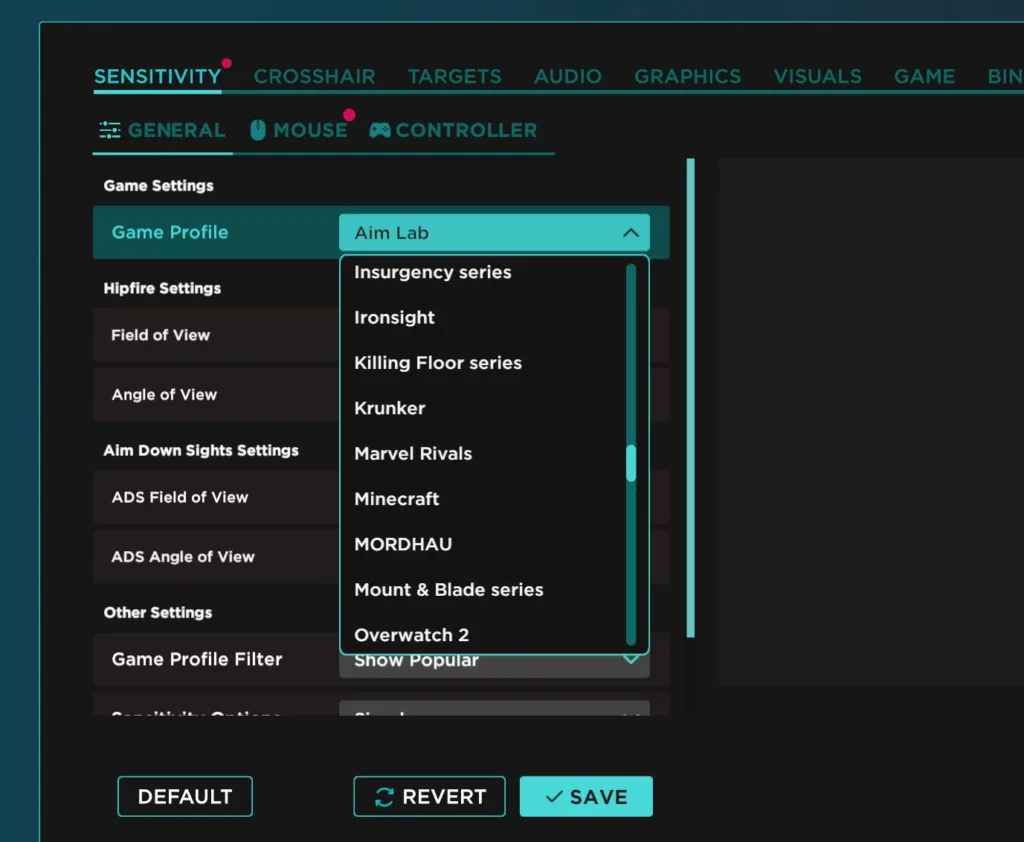
The onboarding process covers popular shooters, but your game might not appear on that list. You still have a wide set of Game Profiles. These profiles also work as a sensitivity calculator. You enter your current sensitivity for a game like Counter Strike 2, then switch the profile to something like Marvel Rivals. Aimlabs handles the calculation for you.
Select the gear icon in the top right corner. This brings you to Settings. Sensitivity is the first menu you will see. Pick your Game Profile, set your FOV, and switch between simple or advanced options. Choose the Mouse or Controller tab and enter the sensitivity you use in your game.
You can adjust more here. Change your crosshair, set your audio levels, tune your graphics, and pick visual styles. Many players pick background colors and target colors with strong contrast. This makes targets easier to track. Match your crosshair color to those choices.
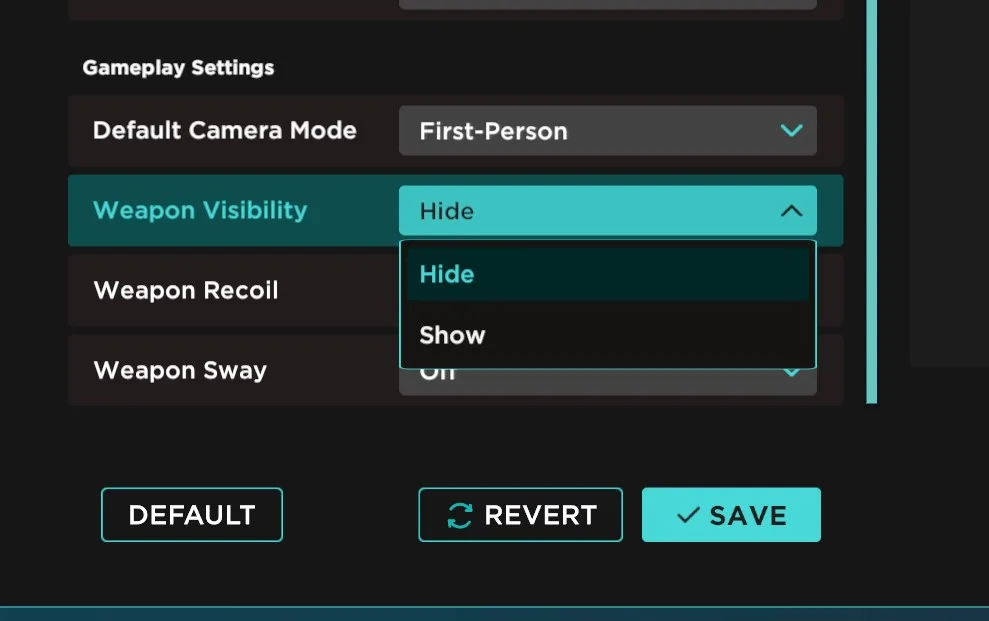
You can hide the gun model as well. Many players prefer a clear view of the crosshair and targets with no visual clutter. Most games do not support this option, so it may affect how realistic the training feels. Pick what works best for you.
2: Find a Task or Playlist
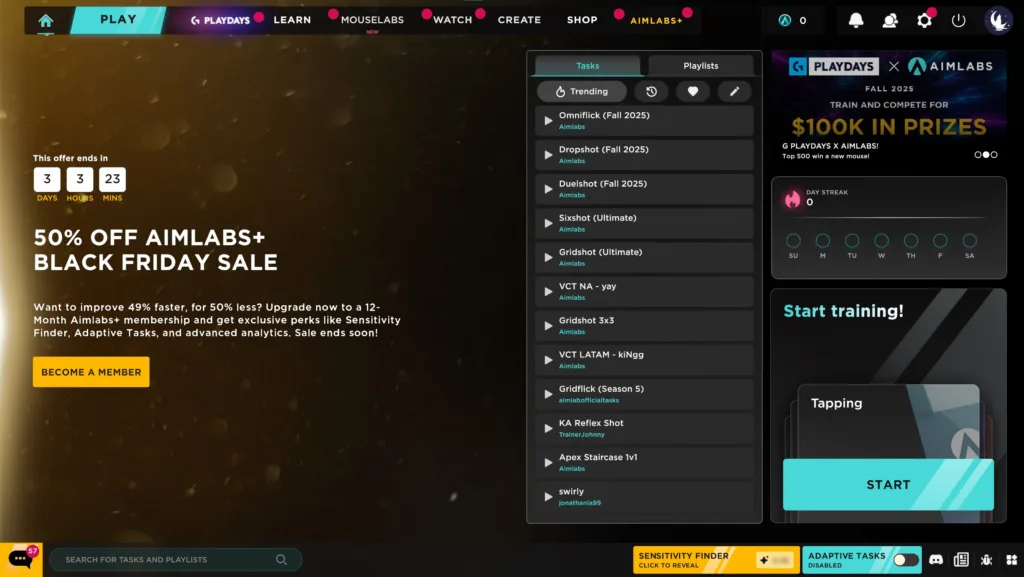
The Home Screen gives you quick access to training. The Quick Play widget sits in the center. The Tasks tab’s Trending filter shows what players run most. You can also filter by Recently Played, Favorites, or tasks you created. The Playlists tab works the same way.
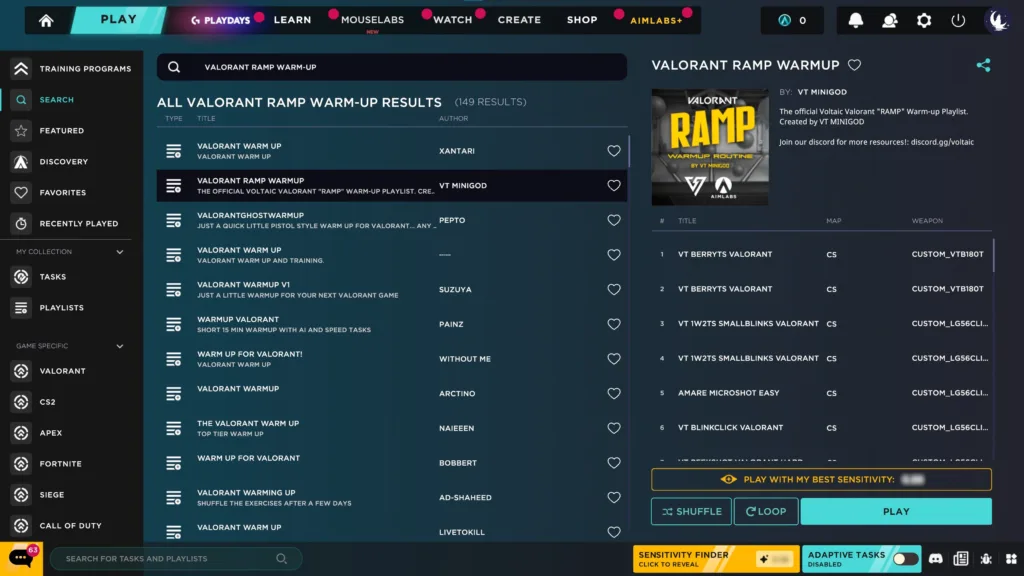
If you want something specific, use the Search Bar in the bottom left corner. You can also click Play in the top left corner, then select Training. Training Programs give you curated playlists for each game or aim category. These use Adaptive Tasks to match your skill level.
You will also see Featured and Search inside the Training menu. Featured highlights new or popular content. Search helps you find exact tasks or playlists. When you open a playlist, you will see the included tasks on the right side. When you open a task, you will see your recent task data and the leaderboards.
3: Check Out the Aimlabs Benchmarks

Benchmarking helps you track progress. Aimlabs offers official Benchmarks that you can reach through the Play button on the Home Screen.
Benchmarks include three tiers: Entry, Intermediate, and Elite. Start with Entry. You will run tasks across different aim subcategories such as micro flicking, reactive tracking, and speed switching. These results show your strengths and weaknesses. If you learn that precise tracking holds you back, look for tasks or playlists that focus on that skill. Run the Benchmarks again later to measure progress.
Targeting your weak areas leads to faster gains. Improvements in one subcategory often support improvements in another.
4: Create or Customize Your Own Playlists
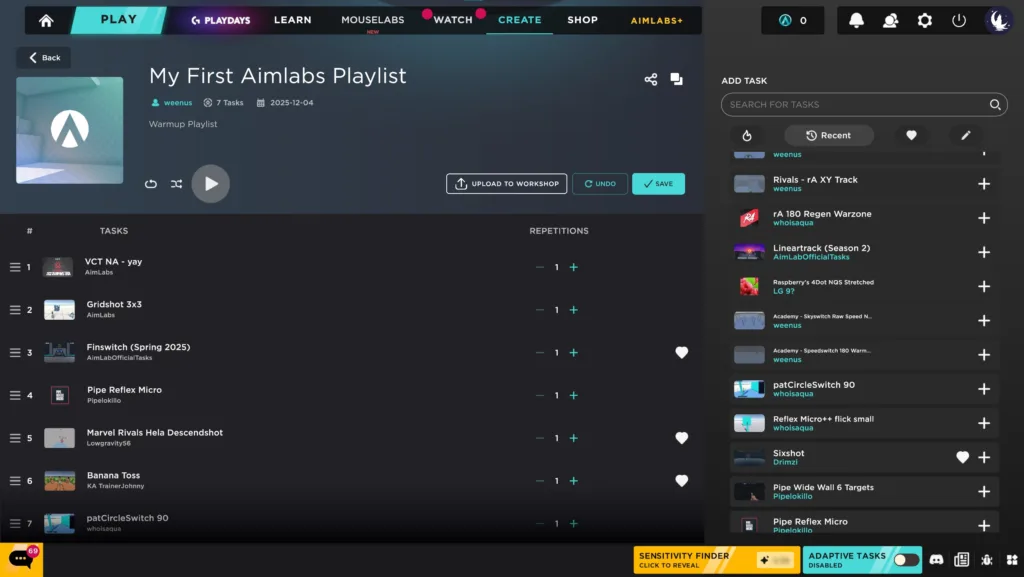
Once you know what you want to train, you can build your own playlist. Select Create on the top navigation bar. Then select Manage Your Playlists. You can edit existing playlists or create a new one with the + New Playlist button.
Add a thumbnail, title, and description. Search for tasks and add them in any order. Set how many repetitions you want for each task. You can upload the playlist to the Steam Workshop so others can run it. You can edit your playlist any time by coming back to the Create tab.
These steps help you move through Aimlabs with confidence and start your training with focus and direction. Good luck with your early sessions and keep building from there.